Spring Boot Web Application Upload File
Tags: Java Spring Boot Upload
In this tutorial we’re going to learn how to implement file uploading function in a Spring Boot web application.
Creating Spring Boot Project with Spring Tool Suite on Eclipse
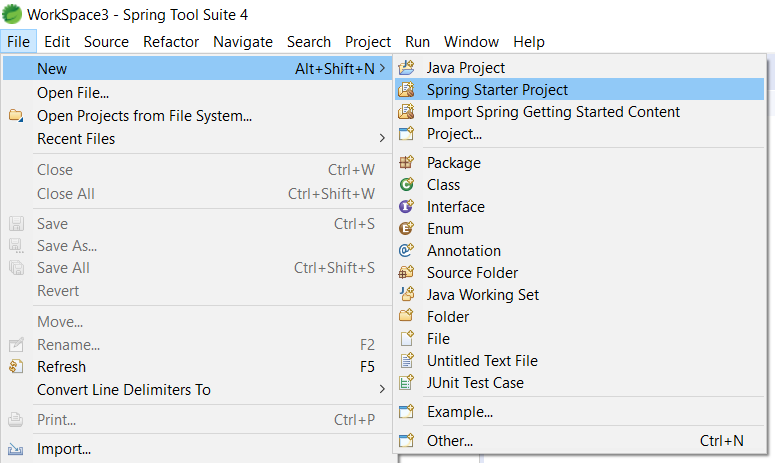
Open Spring Tool Suite and go to menu File -> New -> Spring Starter Project.
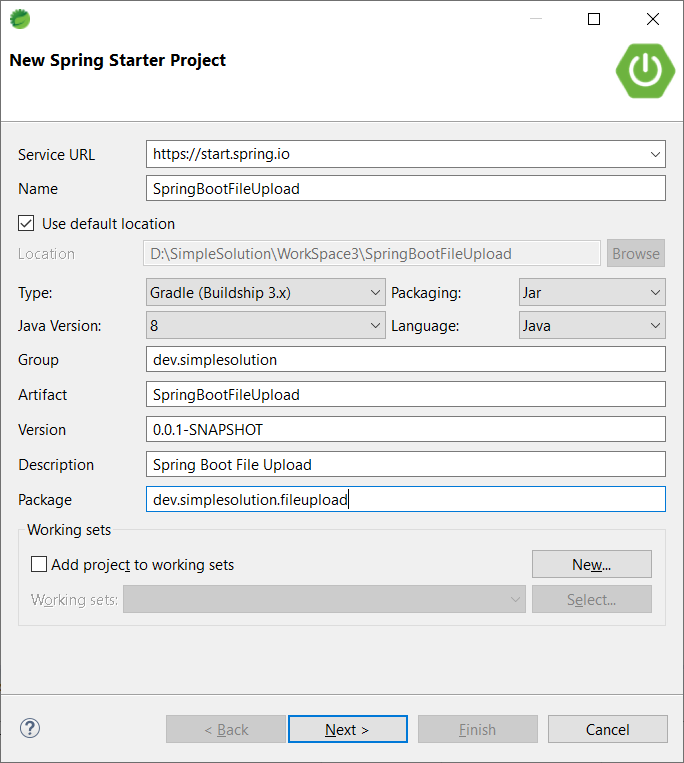
On the New Spring Starter Project window, input your project information as below screenshot and click Next button.
On the New Spring Starter Project Dependencies, choose Thymeleaf and Spring Web then click Finish.

Creating File Upload Controller
Next step let’s create a new FileUploadController.java as below.
package dev.simplesolution.fileupload;

import java.io.IOException;
import java.nio.file.Files;
import java.nio.file.Path;
import java.nio.file.Paths;

import org.springframework.stereotype.Controller;
import org.springframework.web.bind.annotation.GetMapping;
import org.springframework.web.bind.annotation.PostMapping;
import org.springframework.web.bind.annotation.RequestParam;
import org.springframework.web.multipart.MultipartFile;
import org.springframework.web.servlet.mvc.support.RedirectAttributes;

@Controller
public class FileUploadController {

	private final String UPLOAD_DIRECTORY = "D:\\SimpleSolution\\upload";

	@GetMapping("/")
	public String uploadFileForm() {
		return "uploadFileForm";
	}

	@PostMapping("/uploadFile")
	public String uploadFile(@RequestParam("file") MultipartFile file, RedirectAttributes redirectAttributes)
			throws IOException {
		if(file.isEmpty()) {
			redirectAttributes.addFlashAttribute("errorMessage", "Please select a file to upload.");
			return "redirect:/";
		}

		Path path = Paths.get(UPLOAD_DIRECTORY, file.getOriginalFilename());
		Files.write(path, file.getBytes());
		redirectAttributes.addFlashAttribute("successMessage", "File upload successfully, uploaded file name: " + file.getOriginalFilename());
		return "redirect:/";
	}

}
Creating HTML Views
In directory src/main/resources, create uploadFileForm.html file.
<html xmlns:th="https://www.thymeleaf.org">
<head>
<title>Spring Boot Web Upload File</title>
<link rel="stylesheet" href="https://stackpath.bootstrapcdn.com/bootstrap/4.4.1/css/bootstrap.min.css">
</head>
<body>
<div class="container">
<p class="text-danger" th:if="${errorMessage}" th:text="${errorMessage}"></p>
<p class="text-success" th:if="${successMessage}" th:text="${successMessage}"></p>
<form method="POST" enctype="multipart/form-data" action="/uploadFile">
<div class="form-group">
<label for="exampleFormControlFile1">File to upload</label>
<input type="file" class="form-control-file" id="file" name="file" >
</div>
<button type="submit" class="btn btn-primary">Upload</button>
</form>
</div>
</body>
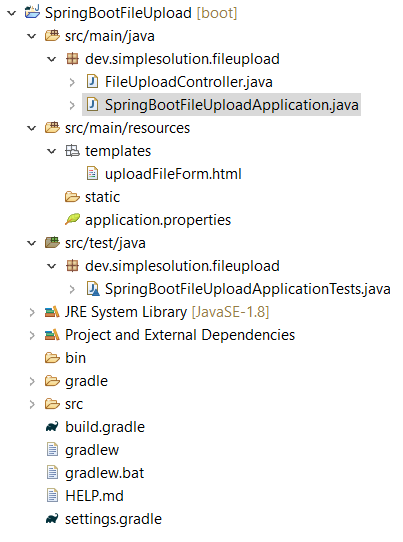
</html>The complete project structure.
Run the Spring Boot web application
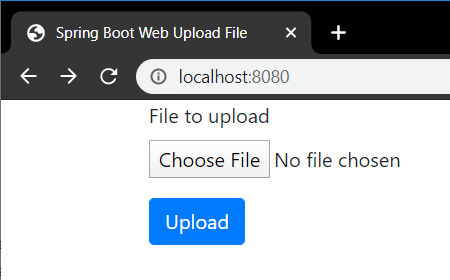
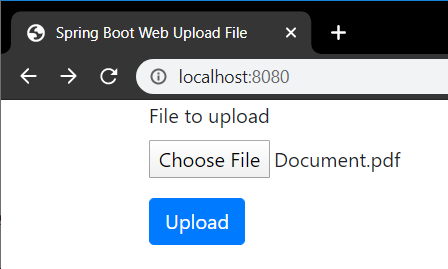
Run the web application and open http://localhost:8080/ at the browser, we will get the upload page as below
Choose a file, for example Document.pdf
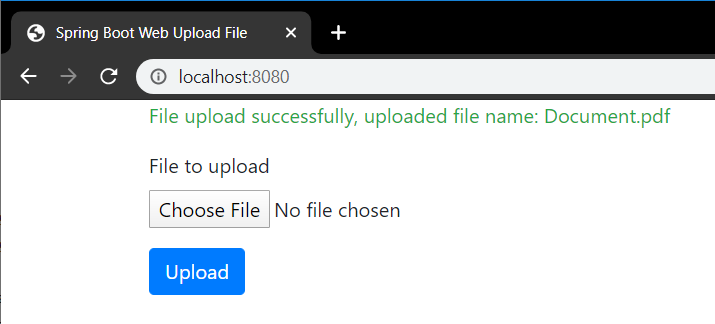
Click the Upload button to start uploading the file and return the success message.
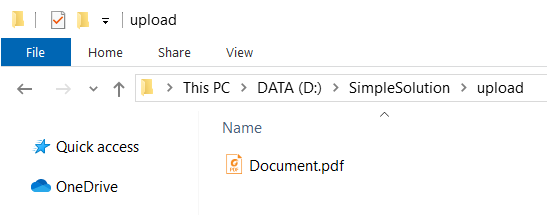
The Document.pdf file will be saved at the upload directory.
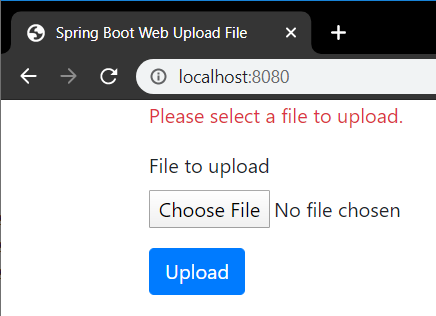
If you leave the file empty and click Upload then the application shows an error message.
Happy Coding 😊