Spring Boot Web Upload and Read QR Code Image
Tags: zxing read QR code decode QR code upload QR code read QR image decode QR image Spring Boot QR Code Java QR Code
This Spring Boot tutorial to show you how to implement a Spring Boot web application which user can upload and decode a QR code image file.
Table of contents
- Create New Spring Boot Web Project
- Add ZXing Core and ZXing Java SE Extensions libraries to the Spring Boot project
- Implement QR Code Service Class and Interface
- Implement Controller Class and HTML View
- Complete Source Code and Run Web Application
- Download Complete Source Code
Create New Spring Boot Web Project
Open IntelliJ IDEA, select the menu File > New > Project.
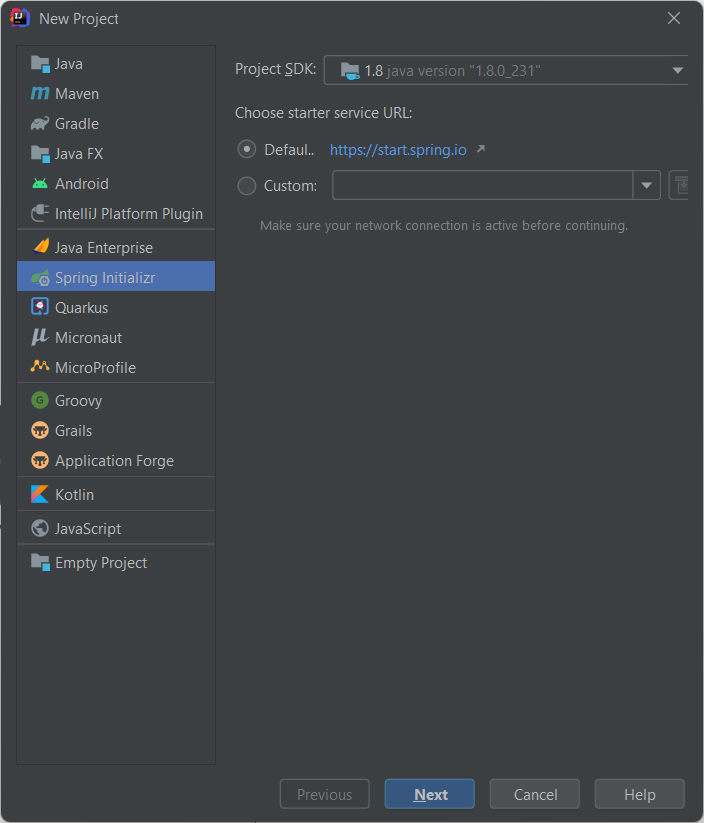
On the New Project dialog, select Spring Initializr and click Next button.
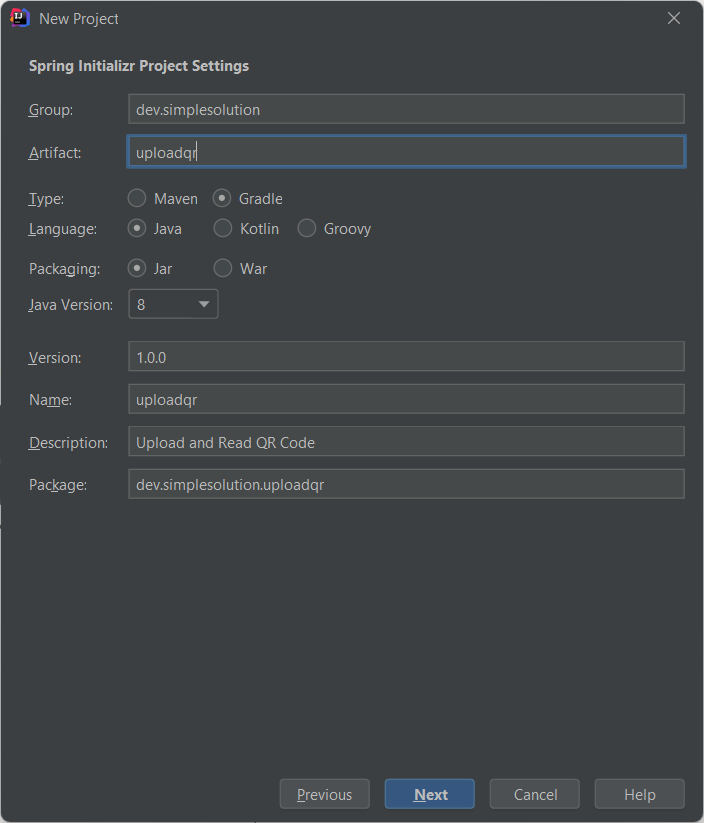
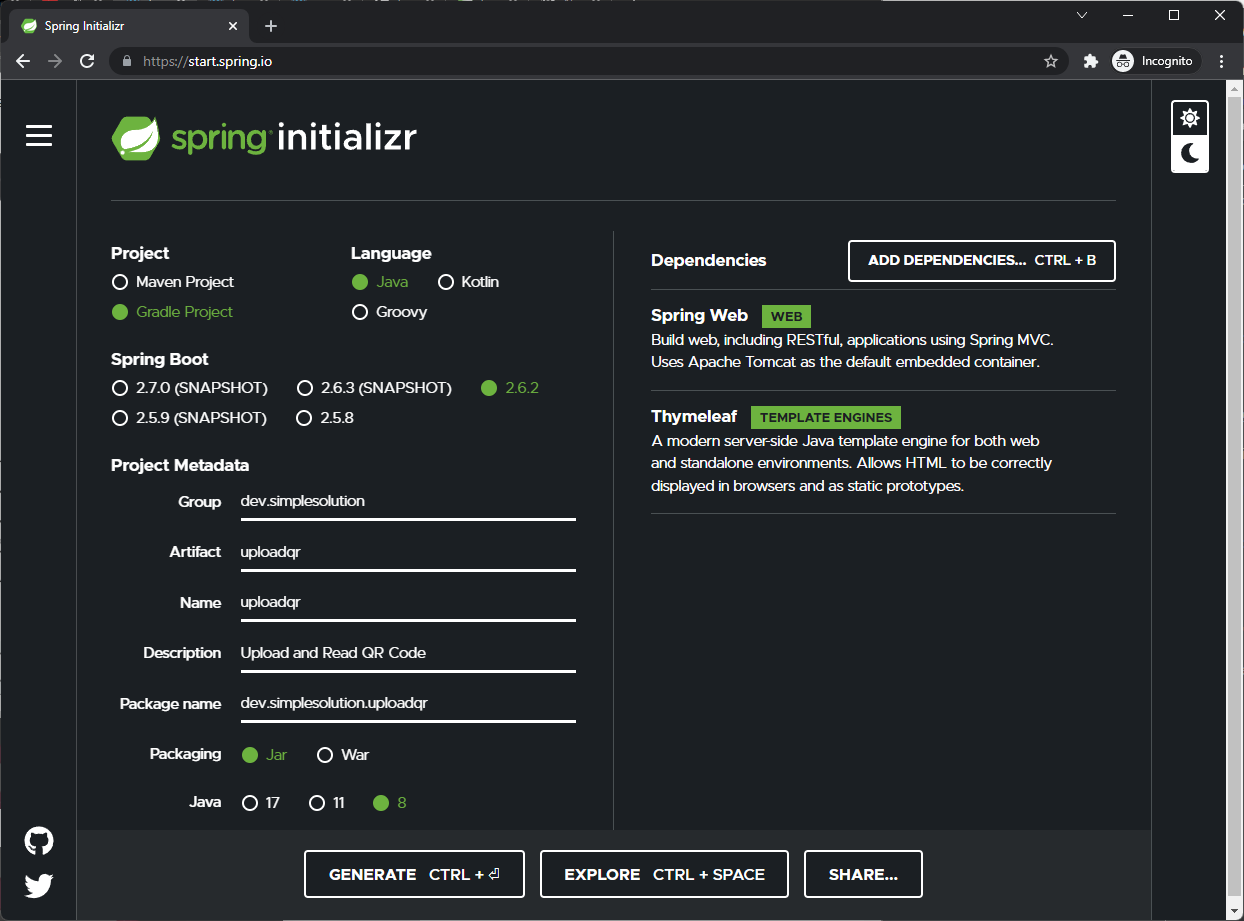
On the Spring initializr Project Settings dialog input the new project information as below and click Next button.
- Group: dev.simplesolution
- Artifact: uploadqr
- Version: 1.0.0
- Name: uploadqr
- Description: Upload and Read QR Code
- Package: dev.simplesolution.uploadqr
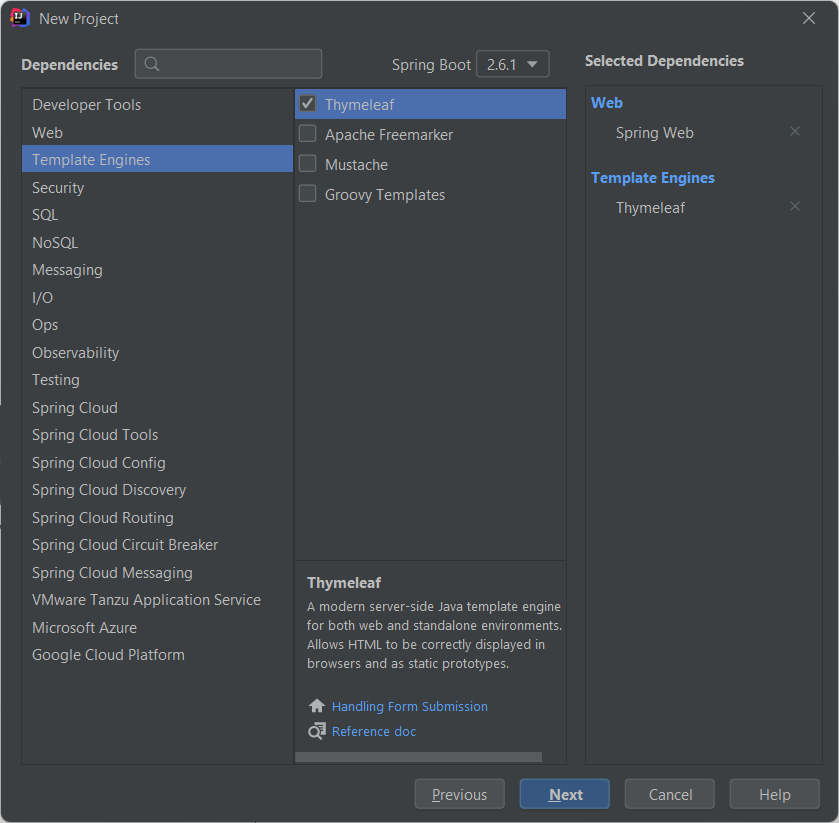
On the Dependencies dialog, select below dependencies and click Next button.
- Spring Web
- Thymeleaf
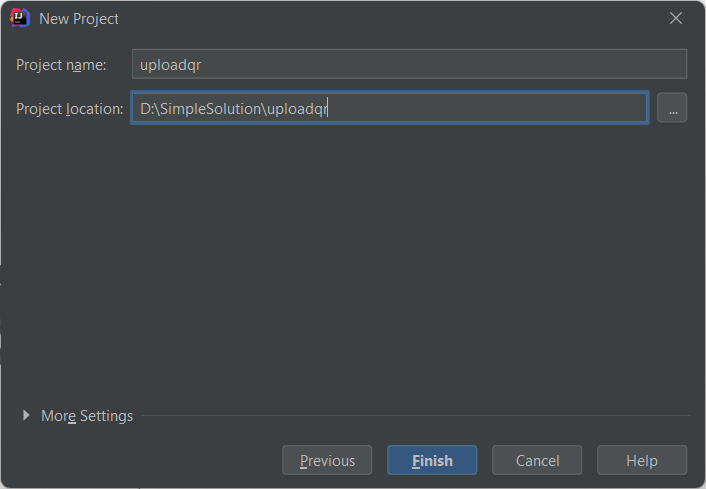
Select the location for your project and click Finish button to create new Spring Boot project.
You can also create new Spring Boot project using Spring Initializr online tool at start.spring.io as below screenshot.
Add ZXing Core and ZXing Java SE Extensions libraries to the Spring Boot project
To generate the QR code image we use the ZXing library.
To use ZXing library in the Gradle project, add the following dependency to the build.gradle file.
implementation group: 'com.google.zxing', name: 'core', version: '3.4.1'

implementation group: 'com.google.zxing', name: 'javase', version: '3.4.1'
If you are using Maven build, add the following dependency to the pom.xml file.
<dependency>
    <groupId>com.google.zxing</groupId>
    <artifactId>core</artifactId>
    <version>3.4.1</version>
</dependency>

<dependency>
    <groupId>com.google.zxing</groupId>
    <artifactId>javase</artifactId>
    <version>3.4.1</version>
</dependency>
Implement QR Code Service Class and Interface
At this step we implement a service class to decode the QR image from a given byte array into text content.
Create a new package named dev.simplesolution.uploadqr.service and add new interface QRCodeService as below.
src/main/java/dev/simplesolution/uploadqr/service/QRCodeService.java
package dev.simplesolution.uploadqr.service;

public interface QRCodeService {

    String decodeQR(byte[] qrCodeBytes);

}
Create a new package named dev.simplesolution.uploadqr.service.impl and implement new Java class QRCodeServiceImpl as below source code.
src/main/java/dev/simplesolution/uploadqr/service/impl/QRCodeServiceImpl.java
package dev.simplesolution.uploadqr.service.impl;

import com.google.zxing.BinaryBitmap;
import com.google.zxing.MultiFormatReader;
import com.google.zxing.NotFoundException;
import com.google.zxing.Result;
import com.google.zxing.client.j2se.BufferedImageLuminanceSource;
import com.google.zxing.common.HybridBinarizer;
import dev.simplesolution.uploadqr.service.QRCodeService;
import org.slf4j.Logger;
import org.slf4j.LoggerFactory;
import org.springframework.stereotype.Service;

import javax.imageio.ImageIO;
import java.awt.image.BufferedImage;
import java.io.ByteArrayInputStream;
import java.io.IOException;

@Service
public class QRCodeServiceImpl implements QRCodeService {

    private Logger logger = LoggerFactory.getLogger(QRCodeServiceImpl.class);

    @Override
    public String decodeQR(byte[] qrCodeBytes) {
        try {
            ByteArrayInputStream byteArrayInputStream = new ByteArrayInputStream(qrCodeBytes);
            BufferedImage bufferedImage = ImageIO.read(byteArrayInputStream);
            BufferedImageLuminanceSource bufferedImageLuminanceSource = new BufferedImageLuminanceSource(bufferedImage);
            HybridBinarizer hybridBinarizer = new HybridBinarizer(bufferedImageLuminanceSource);
            BinaryBitmap binaryBitmap = new BinaryBitmap(hybridBinarizer);
            MultiFormatReader multiFormatReader = new MultiFormatReader();
            Result result = multiFormatReader.decode(binaryBitmap);

            return result.getText();
        } catch (NotFoundException e) {
            logger.error(e.getMessage(), e);
        } catch (IOException e) {
            logger.error(e.getMessage(), e);
        }
        return null;
    }
}
Implement Controller Class and HTML View
At this step we implement a new Controller class to process the uploaded file and show the decoded content of QR code image file.
Adding a new package named dev.simplesolution.uploadqr.controller and implement a controller class named QrCodeUploadController as following source file.
src/main/java/dev/simplesolution/uploadqr/controller/QrCodeUploadController.java
package dev.simplesolution.uploadqr.controller;

import dev.simplesolution.uploadqr.service.QRCodeService;
import org.slf4j.Logger;
import org.slf4j.LoggerFactory;
import org.springframework.beans.factory.annotation.Autowired;
import org.springframework.stereotype.Controller;
import org.springframework.web.bind.annotation.GetMapping;
import org.springframework.web.bind.annotation.PostMapping;
import org.springframework.web.bind.annotation.RequestParam;
import org.springframework.web.multipart.MultipartFile;
import org.springframework.web.servlet.mvc.support.RedirectAttributes;

import java.io.IOException;

@Controller
public class QrCodeUploadController {

    private Logger logger = LoggerFactory.getLogger(QrCodeUploadController.class);

    @Autowired
    private QRCodeService qrCodeService;

    @GetMapping("/")
    public String index() {

        return "index";
    }

    @PostMapping("/uploadQrCode")
    public String uploadQrCode(@RequestParam("qrCodeFile") MultipartFile qrCodeFile, RedirectAttributes redirectAttributes) {
        if(qrCodeFile.isEmpty()) {
            redirectAttributes.addFlashAttribute("errorMessage", "Please choose file to upload.");
            return "redirect:/";
        }

        try {
            String qrContent = qrCodeService.decodeQR(qrCodeFile.getBytes());
            redirectAttributes.addFlashAttribute("successMessage", "File upload successfully.");
            redirectAttributes.addFlashAttribute("qrContent", "Your QR Code Content:" + qrContent);
            return "redirect:/";
        } catch (IOException e) {
            logger.error(e.getMessage(), e);
            redirectAttributes.addFlashAttribute("errorMessage", e.getMessage());
        }

        return "redirect:/";
    }

}
Then under templates directory, create a new HTML view file named index.html as below.
src/main/resources/templates/index.html
<html xmlns:th="https://www.thymeleaf.org">
<head>
    <title>Spring Boot Web Upload and Read QR Code</title>
    <link href="https://cdn.jsdelivr.net/npm/bootstrap@5.1.3/dist/css/bootstrap.min.css" rel="stylesheet">
</head>
<body>
<div class="container">
    <h1>Choose your QR code image file to upload.</h1>
    <p class="text-danger" th:if="${errorMessage}" th:text="${errorMessage}"></p>
    <p class="text-success" th:if="${successMessage}" th:text="${successMessage}"></p>
    <p class="text-primary" th:if="${qrContent}" th:text="${qrContent}"></p>
    <form method="POST" enctype="multipart/form-data" action="/uploadQrCode">
        <div class="form-group">
            <label for="qrCodeFile">File to upload</label>
            <input type="file" class="form-control-file" id="qrCodeFile" name="qrCodeFile" >
        </div>
        <button type="submit" class="btn btn-primary">Upload</button>
    </form>
</div>
</body>
</html>
Complete Source Code and Run Web Application
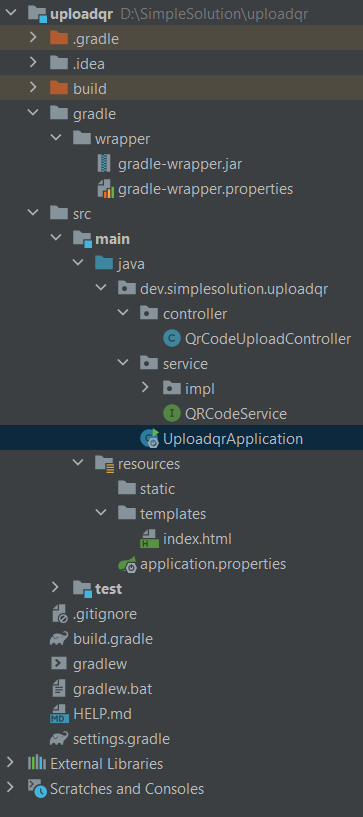
At this step we already finish implementing the application to allow user upload QR code image file to decode the content. Your project structure as below screenshot.
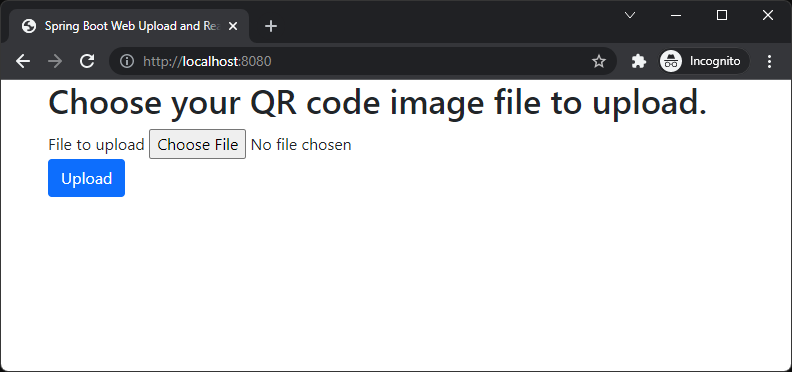
Run the application and open http://localhost:8080 on your browser to access the web page as below.
For example we have a QR code image file as below.

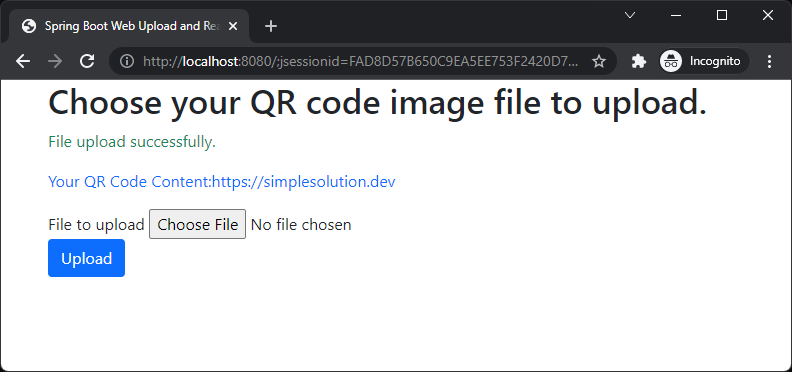
Choose the QR code image file you want to decode and click Upload button to see the QR code content as below screenshot.
Download The Source Code
The source code in this article can be found at: github.com/simplesolutiondev/spring-boot-upload-qr-code
or clone at:
git clone https://github.com/simplesolutiondev/spring-boot-upload-qr-code.git
or download at:
Happy Coding 😊
Related Articles
Spring Boot Web Generate and Display QR Code as Base64 String
Spring Boot Rest API Generate QR Code
Spring Boot Generate QR Code Image Files
Spring Boot Web Generate and Display QR Code
Read QR Code from Image File or Base64 String in Java using ZXing